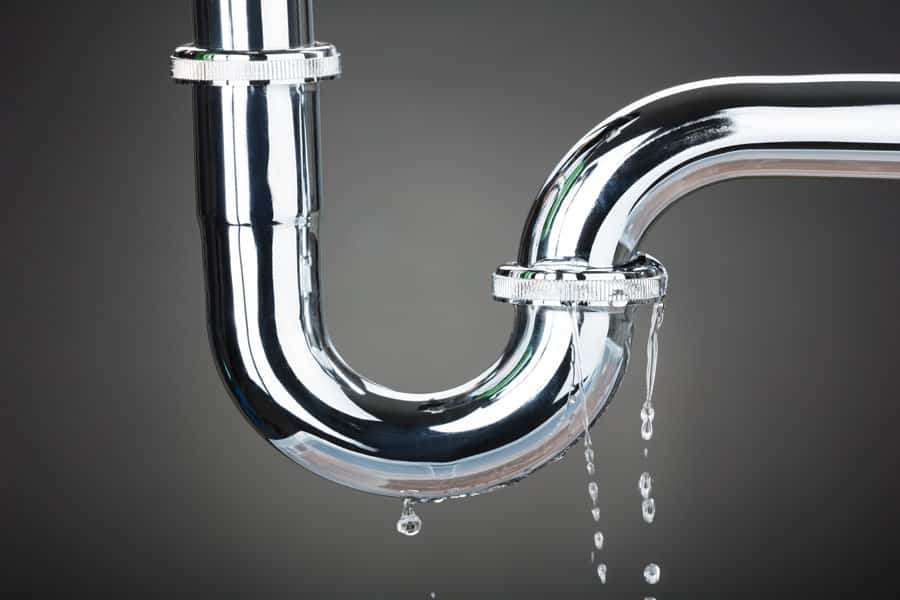
Here at Blufrog Plumbing, we understand that a leaky tap can be an annoyance. Not only is the constant dripping sound irritating, but it can also waste a lot of water over time and potentially increase your utility bill. As Perth’s reliable plumbers, we’re here to help you fix those pesky leaking taps with some DIY solutions.
Understanding Your Tap
Before you dive into fixing your leaking tap, it’s important to understand the different types of taps and their components. There are mainly two types:
1. Compression Taps: These are traditional taps with two handles. When you turn the handle, it moves the washer to control the water flow.
2. Non-Compression Taps: These taps have a single handle that controls both hot and cold water. Instead of washers, they have cartridges or disks.
Common Causes of a Leaky Tap
A tap can leak for various reasons, including:
- Worn out washer: This is the most common cause of a leaky tap. Over time, the washer can become worn or misshaped, causing water to leak.
- Faulty valve seat: The valve seat connects the tap to the spout. If it becomes corroded, it can cause leakage.
- Poorly installed washer: Even if the washer is new, if it’s not installed properly, it can cause the tap to leak.
- Worn out O-ring: The O-ring can wear out over time, leading to a leak near the handle of the tap.
How to Fix a Leaky Tap
Before you begin, gather the necessary tools. You’ll need:
- An adjustable spanner
- A flat-head screwdriver
- Replacement parts (if necessary)
Here’s a step-by-step guide on how to fix a leaking compression tap:
Step 1: Turn off the Water Supply
Always turn off the water supply before starting any plumbing repair. You can usually find the shut-off valve under the sink or near your water meter.
Step 2: Remove the Tap Handle
Use the screwdriver to remove the decorative cap on the handle, exposing the screw. Unscrew it and remove the handle.
Step 3: Inspect the Tap Stem
Use your spanner to unscrew the packing nut, revealing the stem. Remove that as well and inspect it for any signs of damage.
Step 4: Check the Washer
At the bottom of the stem, you’ll find the washer. If it’s damaged or worn out, this is likely the cause of your leak. Replace it with a new one of the exact same size.
Step 5: Reassemble the Tap
Once you’ve replaced the washer, reassemble the tap. Be careful not to overtighten the screws.
Step 6: Test the Tap
Turn the water supply back on and test your tap. If it’s still leaking, there may be another issue.
Please note that non-compression taps may require different steps or even replacement parts like cartridges or disks.
When to Call a Professional Plumber
While a leaking tap is often a simple fix, not all plumbing issues can be solved with a DIY approach. If your tap continues to leak after replacing the washer or if you’re dealing with more complex problems like blocked drains, burst pipes, or issues with your hot water systems, it’s best to call in a professional.
At Blufrog Plumbing, we’re always ready to help with all your plumbing needs. Whether you’re in need of a minor repair or planning major plumbing renovations, our team of experienced plumbers is just a call away. Contact us today and let us take the stress out of your plumbing repairs and renovations!