Leak detection and prevention are essential components of maintaining a well-functioning plumbing system. While professional plumbers can help with more complicated issues, homeowners can often identify and resolve minor leaks themselves. In this comprehensive guide, we’ll walk you through the steps for DIY leak detection and prevention, ensuring your home’s plumbing system stays in top condition.
Step 1: Identifying Common Sources of Leaks
The first step in leak detection is understanding the most common sources of leaks in a home. These can include:
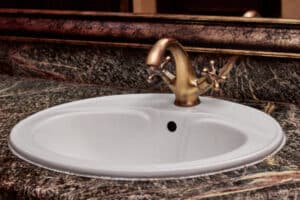
- Taps: Leaking taps are a common issue in many homes and can be caused by worn-out washers, damaged valves, or corroded components.
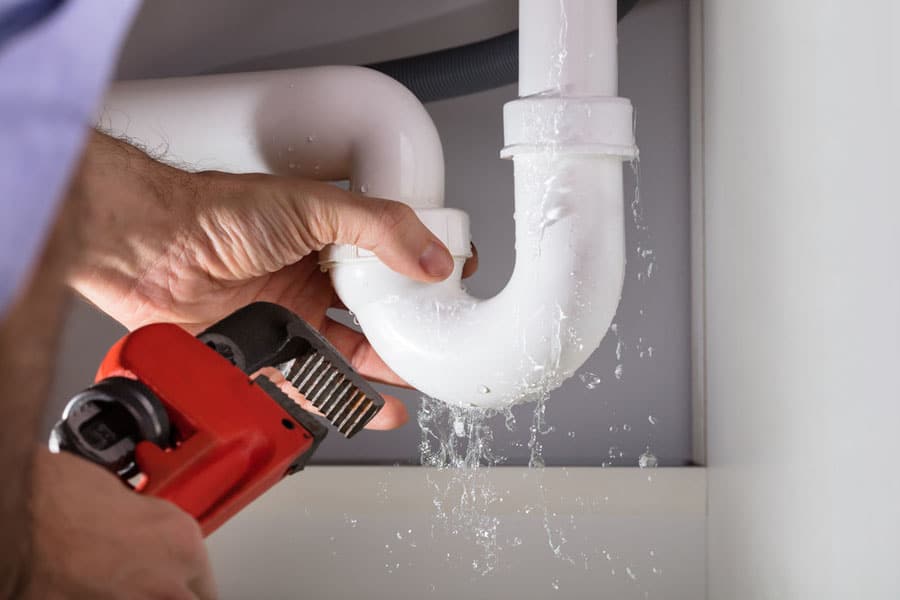
- Pipes: Burst pipes or cracked pipes can lead to leaks and water damage. These issues can result from temperature fluctuations, corrosion, or damage from tree roots.
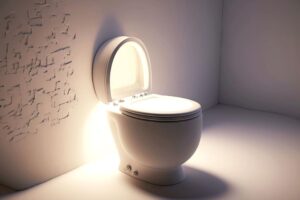
- Toilets: A leaking toilet can waste a significant amount of water and may be caused by issues with the flapper, fill valve, or tank bolts.
- Showers and bathtubs: Leaks can occur around the showerhead, faucet, or drain in your shower plumbing.
- Appliances: Household appliances, such as washing machines and dishwashers, can develop leaks due to worn hoses, loose connections, or malfunctioning components.
Step 2: Checking for Leaks
Once you’re familiar with the common sources of leaks, you can begin inspecting your home for potential issues. Here are some tips for checking for leaks:
- Perform a water meter test: Turn off all the water sources in your home and take a reading of your water meter. Wait at least two hours without using any water, then check the meter again. If the reading has changed, you likely have a leak somewhere in your home.
- Inspect taps and faucets: Check all taps and faucets for signs of dripping or moisture. Don’t forget to inspect outdoor taps and garden hoses as well.
- Check under sinks and appliances: Look for signs of moisture, mould, or water damage under sinks, as well as behind and under appliances that use water.
- Examine toilet tanks: Add a few drops of food colouring to the toilet tank and wait for 30 minutes without flushing. If the colour appears in the toilet bowl, you have a leak in your toilet’s components.
- Inspect your hot water system: Check your hot water system for signs of leaks, such as rust, water stains, or pooling water.
Step 3: Fixing Minor Leaks
For minor leaks, such as dripping taps or leaking toilet components, you can often perform a DIY fix. Here are some tips for addressing common leaks:
- Repairing leaking taps: To fix a leaking tap, first turn off the water supply and remove the tap handle. Replace the worn-out washer or damaged valve, then reassemble the tap and test for leaks.
- Fixing toilet leaks: For a leaking toilet, turn off the water supply and drain the tank. Replace the faulty flapper, fill valve, or tank bolts as needed, then turn the water supply back on and test for leaks.
Step 4: Preventing Leaks
Preventing leaks is an essential aspect of maintaining a well-functioning plumbing system. Here are some tips for preventing leaks in your home:
- Regular inspections: Conduct routine inspections of your plumbing system, checking for signs of wear or damage. This can help you catch potential issues before they turn into significant leaks.
- Replace old pipes: If you have an older home with galvanized or lead pipes, consider replacing them with newer materials like copper or PVC, which are more resistant to corrosion and leaks.
- Insulate pipes: Insulate your pipes to protect them from temperature fluctuations, which can cause pipes to expand and contract, leading to leaks or bursts.
- Be mindful of water pressure: Excessive water pressure can strain your plumbing system and lead to leaks. Install a pressure regulator if needed to maintain a safe water pressure level.
- Install a water leak detector: Water leak detectors can alert you to the presence of leaks, allowing you to address them quickly and minimize potential damage.
Step 5: Knowing When to Call a Professional Plumber
While DIY leak detection and prevention can help homeowners address minor issues, there are situations where it’s best to call a professional plumber, such as Blu Frog Plumbing. Here are some scenarios where professional help is necessary:
- Major leaks or burst pipes: If you have a significant leak or a burst pipe, it’s essential to contact a professional plumber immediately to minimize water damage and ensure a proper repair.
- Persistent leaks: If you’ve attempted a DIY repair and the leak persists, it’s time to call a professional who can accurately diagnose and resolve the issue.
- Complex repairs: Some plumbing repairs, such as bathroom renovations or laundry renovations, require specialized knowledge and tools that only a professional plumber can provide.
Conclusion
DIY leak detection and prevention can help homeowners maintain a well-functioning plumbing system and catch minor issues before they escalate. By following this step-by-step guide, you can identify common sources of leaks, check for issues, address minor repairs, and implement preventative measures.
However, it’s essential to know when to call a professional plumber for more complex issues or significant leaks. If you need assistance with your plumbing system, don’t hesitate to contact the experienced team at Blu Frog Plumbing. With their expertise and commitment to quality, you can trust them to keep your plumbing system in top condition.